Using VSCode on Engaging
VSCode is a convenient IDE for development, and one of its nicest features is its ability to run on a remote system using its RemoteSSH extension. This means you can have the VSCode window on your computer, while the files and anything you run will be on the remote system you are connected to.
Once you've installed the RemoteSSH extension this is fairly easy to set up. However, it is also very easy to set up in such a way that it is not only slow for you, but it also puts excess load on the login nodes and in turn slows things down for others on that node. Luckily, with a few extra steps you can run VSCode on a compute node where it can have more resources to run and won't impact others as much.
Adjust the RemoteSSH Extension Settings
Before you start, it is helpful to adjust VSCode's RemoteSSH Extension settings. Sometimes VS Code may cause you to be locked out of your Engaging account because it makes repeated Duo authentication attempts. To mitigate this behavior, edit a few of the VS Code settings:
- Remote.SSH: Connect Timeout: Set to 60 seconds. Making this longer gives you more time to accept the Duo push before the RemoteSSH extension tries again.
- Remote.SSH: Max Reconnection Attempts: Set to 0. This prevents RemoteSSH from trying to reconnect automatically over and over, sending you Duo pushes when you aren't expecting them. This is what usually causes the lockout. When you set this to 0 VSCode will ask you before trying to reconnect. You can also safely set this to 1 to allow it to make a single reconnection attempt.
Setting up your Config File
Click the "Open a Remote Window" button in the bottom left corner of your VSCode window (It is a small blue rectangle labeled with ><). In the bar at the top of the page select "Connect to Host...", then "Configure SSH Hosts", and select first option, which will differ depending on your operating system. This will open your config file in a VSCode tab.
To run on a compute node you will need at least 2 entries in this file. The first will be a login node that you'll "jump" through and the second will be the compute node that is your final destination.
In this config file we are including some settings for Control Channels, for convenience. Control channels minimize the number of 2-Factor prompts that you get when connecting.
Host orcd-login
  HostName orcd-login.mit.edu
  ControlMaster auto
  ControlPath ~/.ssh/%r@%h:%p
  ControlPersist 300s
  User USERNAME

Host orcd-compute
  User USERNAME
  HostName nodename
  ProxyJump orcd-login
When make any initial connections you will be asked for your password in the bar at the top of the window, followed by which 2-Factor method you would prefer. Enter "1" for the default method that you've set up. After responding to your 2-factor authentication you should be connected. If you include the Control Channel settings above as long as your initial connection isn't disconnected additional connections won't require you to enter your password or respond to a 2-factor prompt again.
Host orcd-login
  HostName orcd-login.mit.edu
  User USERNAME

Host orcd-compute
  User USERNAME
  HostName nodename
  ProxyJump orcd-login
When make any connections you will be asked for your password in the bar at the top of the window, followed by which 2-Factor method you would prefer. Enter "1" for the default method that you've set up. After responding to your 2-factor authentication you should be connected.
Note
To use VSCode on a compute node, an SSH key is required. If you haven't set up SSH keys yet, refer to the SSH Key Setup guide.
Replace USERNAME with your username on the system you are connecting to. We will fill in "nodename" later.
Starting your VSCode Session on a Compute Node
Each time you sit down to do remote work through VSCode you will have three steps:
- Start an interactive job on the target system and note the name of the node your job is running on
- Update your config file with the node name
- Connect to the compute node using your updated config
We go through these steps in detail below.
Start an Interactive Job
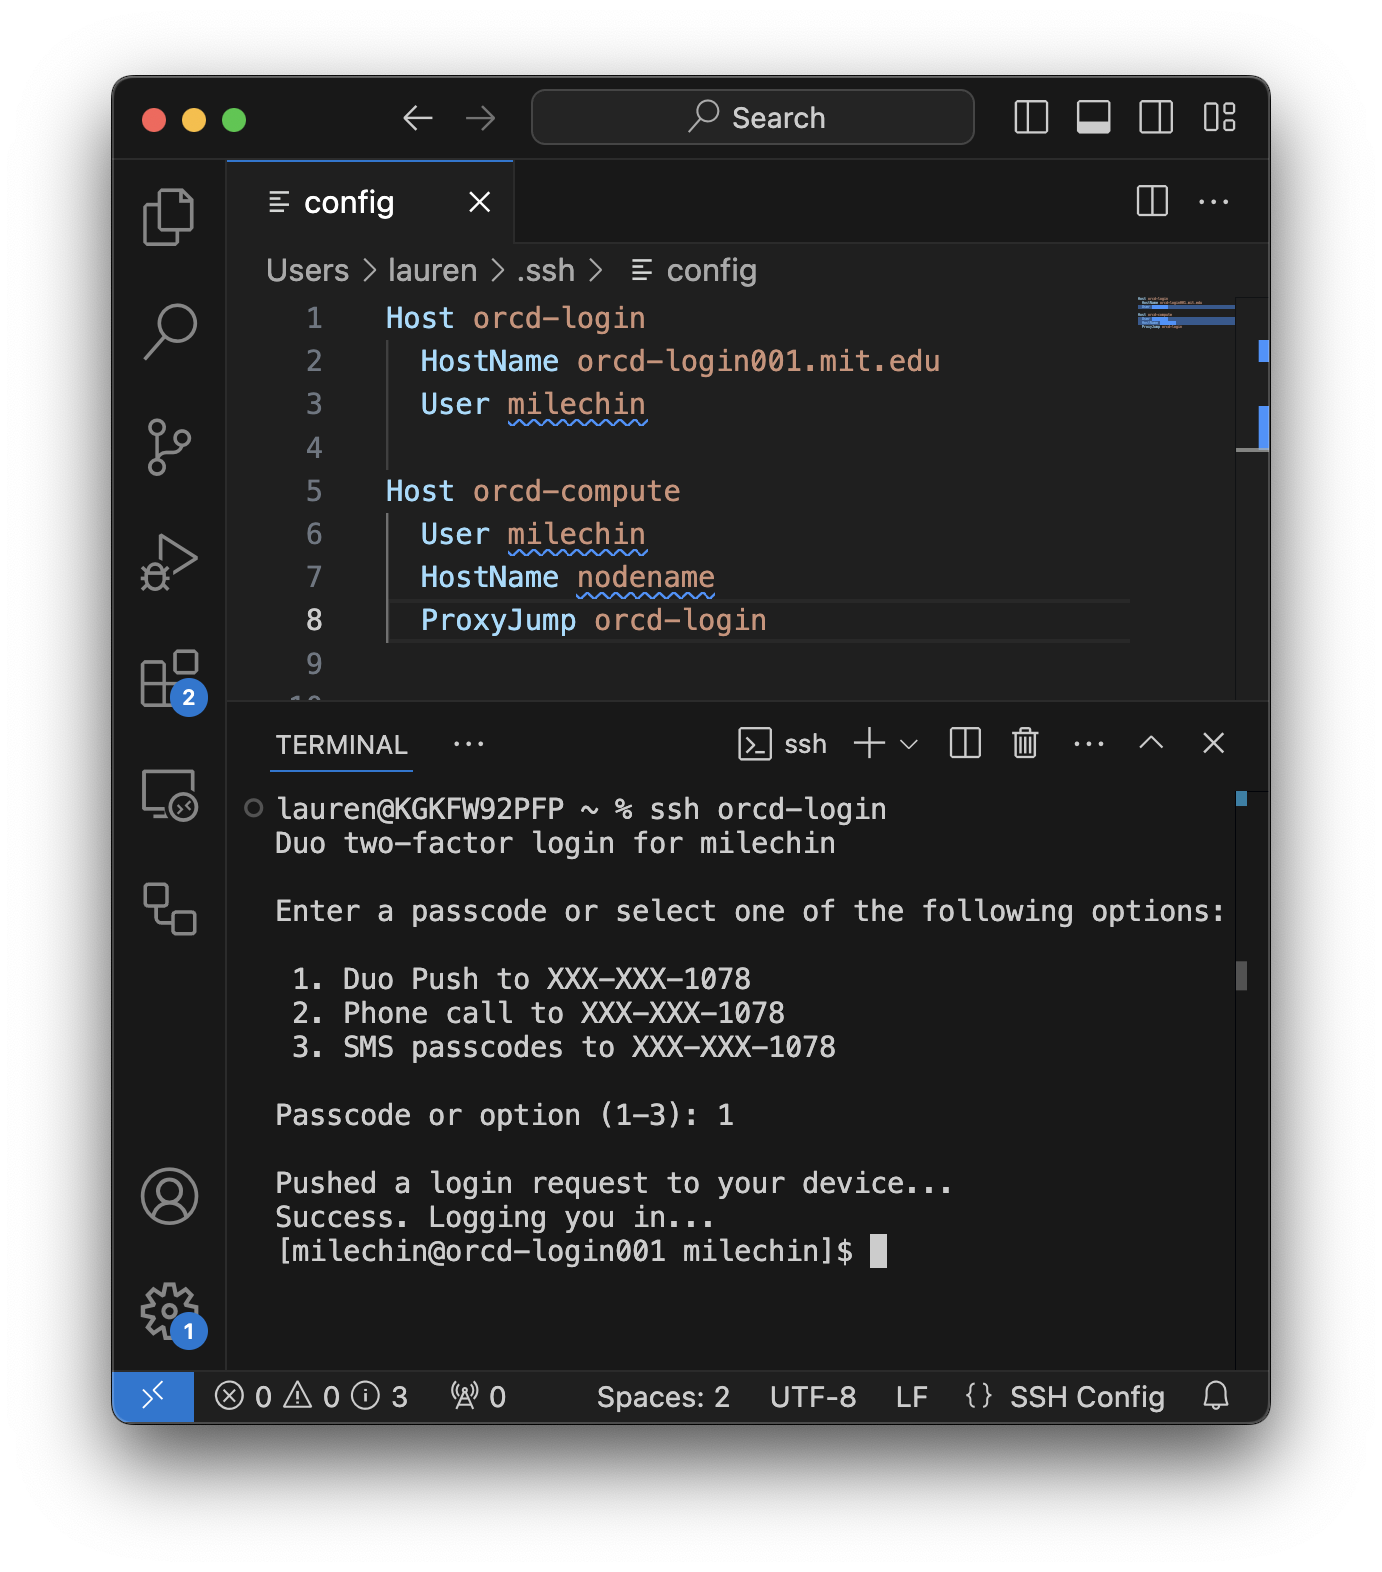
Open a terminal window and ssh into the login node. If you are not used to doing this you can open a terminal in VSCode and run:
Use the name you have used for the login Host in your config file if different than the one above. The example screenshot below shows logging into one of the Engaging login nodes with ssh in a VSCode terminal window.
Once you are logged in start an interactive session. If you are planning to only edit files a single core may be sufficient, but if you plan to run code or Jupyter Notebooks you may want to allocate more resources accordingly. Refer to the documentation for your system on how to request an interactive job:
Engaging's Documentation for Running Jobs
Once your job has started you can run the hostname command to get the name of the node your interactive job is running on. You can also run the squeue --me command to list all your running jobs and get the hostname from the last column.
The screenshot below shows requesting a single interactive core for 1 hour on Engaging:
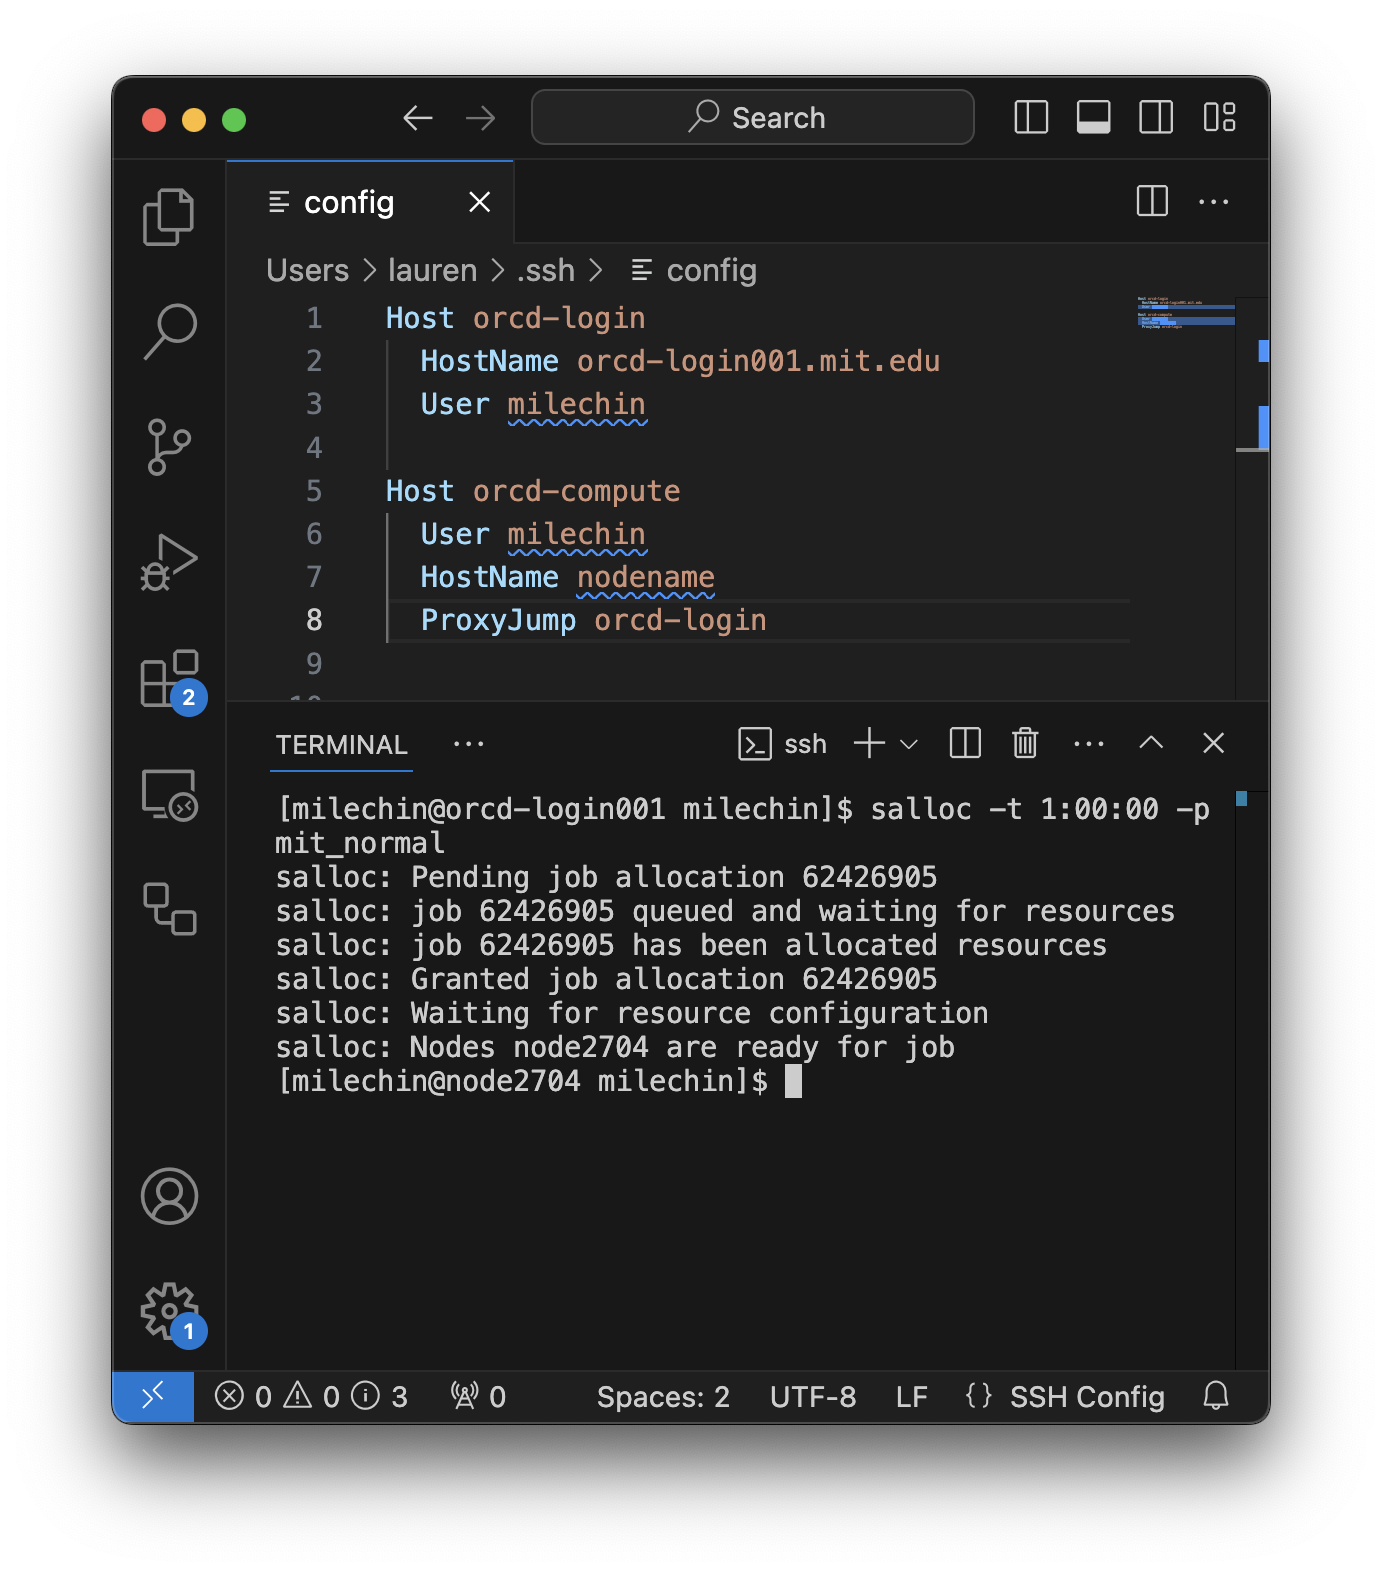
Note that the scheduler will also tell you which node you are allocated in its output. In this screenshot my node name is node2704.
Update your Config File
Update the HostName of your compute node entry in your config file. If your config file is not open, follow the instructions above to open it again. Then replace whatever you have for HostName in your config file with the output of the hostname command you ran in your interactive session, or got from squeue --me.
If your compute node is node1234 then your config file should look something like:
Host orcd-login
    HostName orcd-login001.mit.edu
    User USERNAME

Host orcd-compute
    User USERNAME
    HostName node1234
    ProxyJump orcd-login
Where USERNAME is replaced by your username.
This screenshot shows updating the config file for an interactive job running on Engaging:
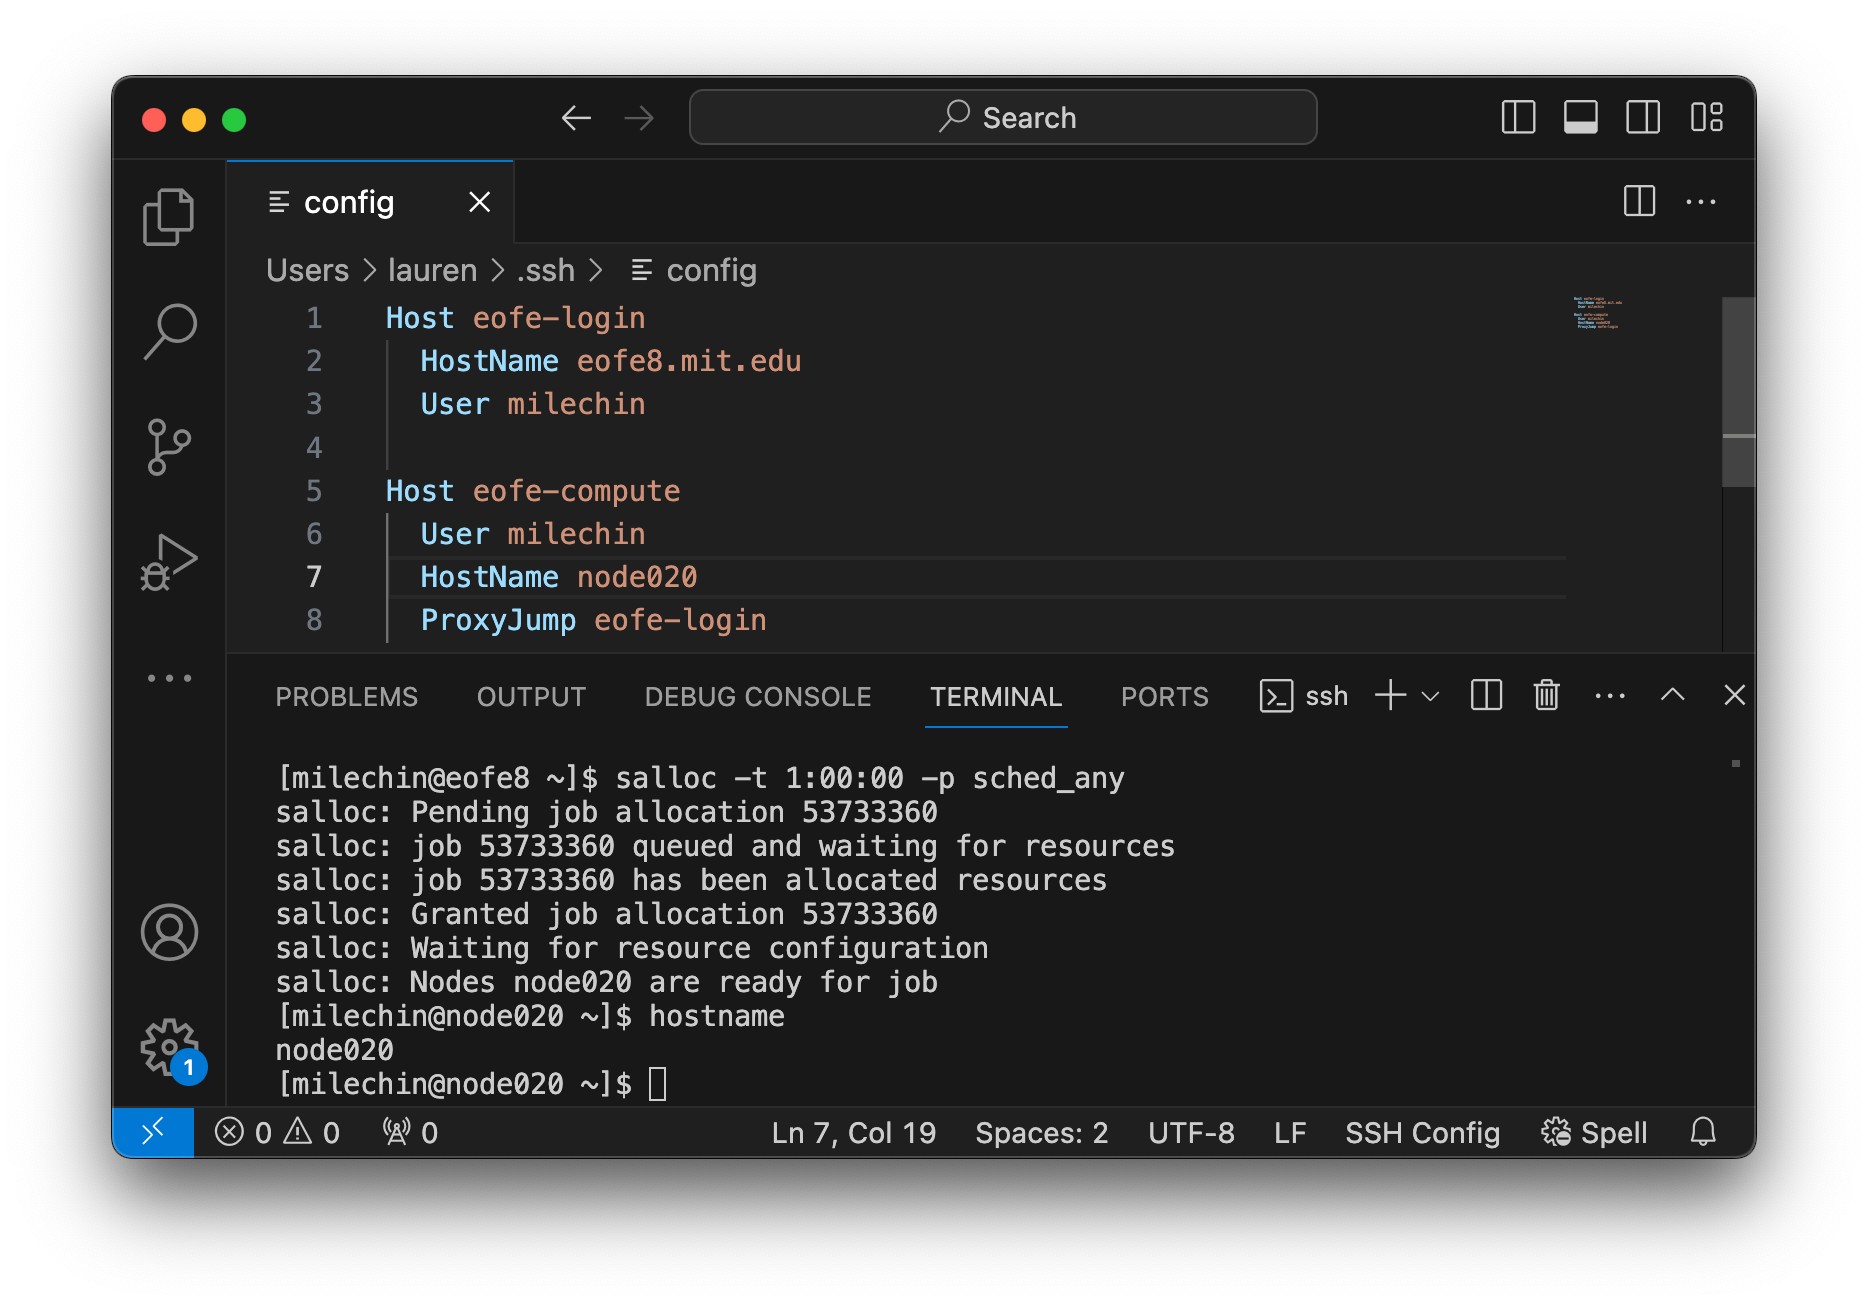
Since the interactive job in my screenshot is running on node2704, I have updated HostName to node2704 for the orcd-compute entry in my config file.
Connect to the Compute Node
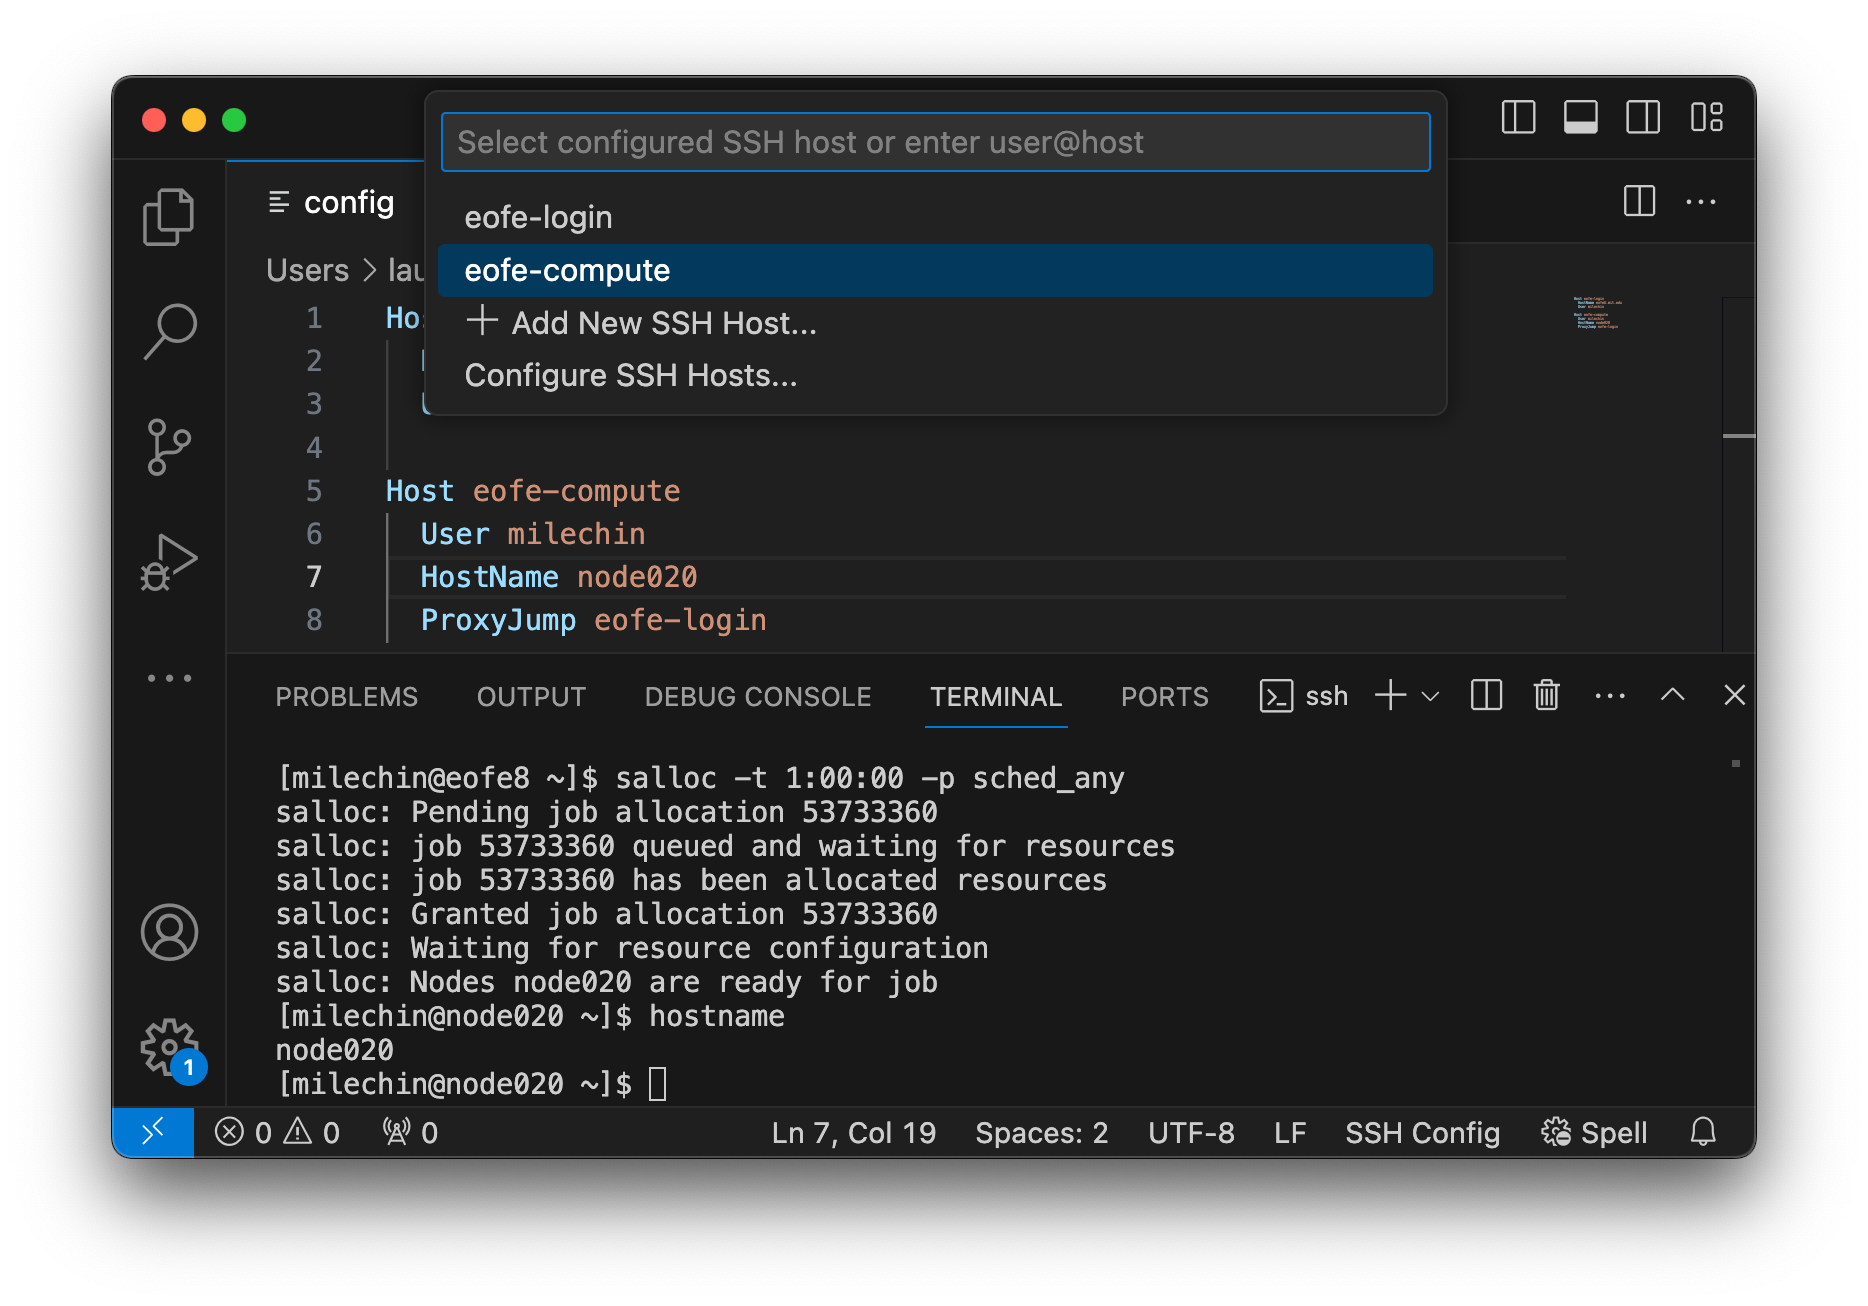
You are ready to connect to the compute node you have allocated through your interactive job from VSCode. Select the "Open a Remote Window" button in the bottom left corner of your VSCode window. In the bar at the top of the page select "Connect to Host..." and select the Host for the compute node that you have created.
In the example config file above this would be orcd-compute.
Here is what this might look like:
Other VSCode Best Practices, Tips, and Tricks
- Avoid running VSCode through RemoteSSH on the login nodes. If you are only editing files this might be okay, although it is not encouraged. Beyond editing files please use a compute node for VSCode, as described on this page.
- Add only the specific directories you need to your workspace. VSCode constantly scans all the files files and runs git commands on any local git repositories in your workspace, and it does this recursively. For this reason adding high-level directories to your workspace can slow things down quite a bit. For example, avoid adding your entire home directory or group storage to your VSCode session workspace.
- If VSCode is slow to start up on Engaging, check to see whether you are activating a conda environment at login. If you are, run the command
conda config --set auto_activate_base falseto prevent this. You will only have to do this once. - Sometimes, VS Code may cause you to be locked out of your Engaging account because it makes repeated Duo authentication attempts. To mitigate this behavior, edit a few of the VS Code settings:
- Remote.SSH: Connect Timeout: Set to 60 seconds. Making this longer gives you more time to accept the Duo push before the RemoteSSH extension tries again.
- Remote.SSH: Max Reconnection Attempts: Set to 0. This prevents RemoteSSH from trying to reconnect automatically over and over, sending you Duo pushes when you aren't expecting them. This is what usually causes the lockout. When you set this to 0 VSCode will ask before trying to reconnect. You can also safely set this to 1 to allow it to make a single reconnection attempt.
- Remote.SSH: Show Login Terminal: Checking this box would let you see useful debugging information while VS Code is starting up.